You can manage the cameras connected to the IP channels on the recorder in the IP Channels sub-menu. The list at the bottom of the screen shows all of the connected cameras.
The options available will differ for each camera depending on the connection type. This could be a Zip IP camera, a camera connected to another Zip recorder or a camera connected to an Alien DVR.

![]() Adding Camera
Adding Camera
You can add a camera to an available IP channel by clicking the Plus icon. This will open the Add IP Camera window. For more information on adding cameras in this way see the Adding Single IP Cameras section.
![]() Deleting Cameras
Deleting Cameras
The easiest way to remove individual cameras is to click the Delete button on the camera entry in the device list.
If you want to remove multiple cameras you can simply tick the check box for the cameras you want to remove and click the Delete Camera button below the device list.
![]()
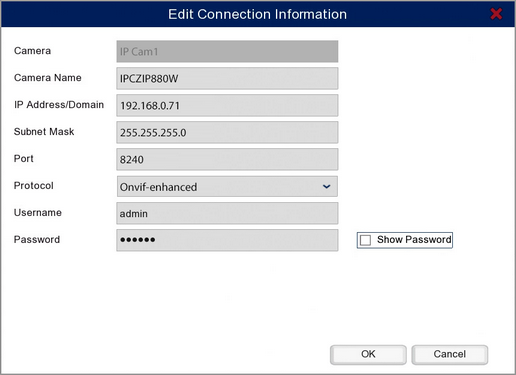
![]() Edit Connection Information
Edit Connection Information
You can edit the connection settings of a device by clicking the Edit icon.
It is important to note that these are not the IP settings of the connected device, these are the settings the recorder uses to look for the device. Therefore these settings have to match with the device otherwise the recorder will not be able to connect to it.

This is handy when the IP settings of a connected device have changed. Rather than having to delete the device and add it again with the new settings, you can simply update the settings here. This will point the recorder in the right direction so that it can re-connect to the device.
You can also quickly switch to a different camera by updating the IP address. If you know the IP settings of a camera you would like to switch to you can enter them in this window. The recorder will then connect to that camera instead.
![]() IP Camera Status Icon
IP Camera Status Icon
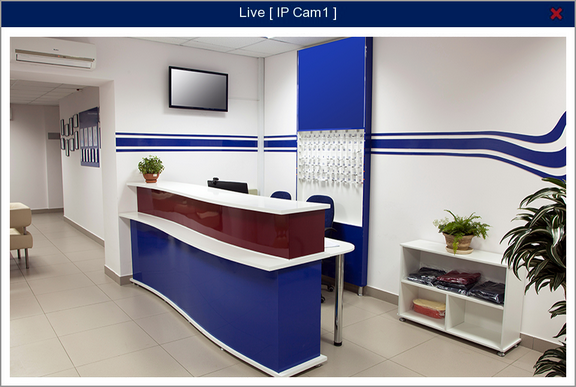
The State column shows the camera's current status. When connected successfully the camera icon will have a small green play icon below it. When connected you can click camera icon to display the camera's image. This is a quick way to check that you are connected to the correct camera.

If the recorder can not connect to the camera, the status icon will show a camera with red play icon below it. This shows that the IP settings you entered for the camera are incorrect, the camera's IP settings have changed since being added to the recorder or that the camera is offline.
When this happens you may need to edit the connection information as explained above if you know the camera's IP settings.
![]() Modifying IP Camera Settings
Modifying IP Camera Settings
You can click the Modify IP Camera Settings icon to view and edit the IP settings on the camera itself. For more information see the IP Camera Settings section.
Band Width
In the bottom right corner if the screen you will see band width figures. These show the Total Band Width of the recorder and the Used Band Width. The used band width displays the band width currently being used by the connected IP cameras.